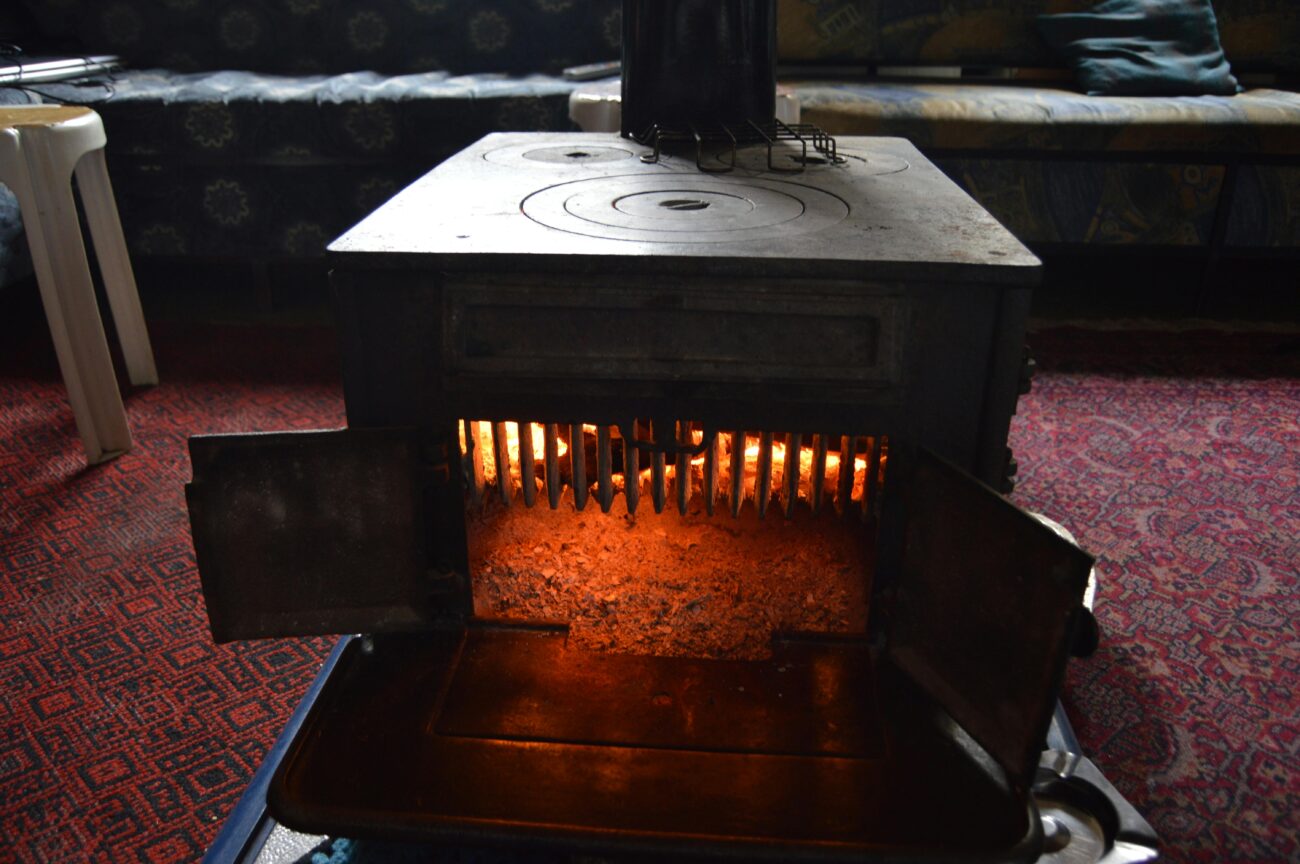
If you’ve ever owned a wood stove, you know the importance of regular maintenance. One afternoon last winter, while cleaning out my Jotul 118, I noticed something troubling—the ash pan had a hairline crack right along the base. At first, I brushed it off, but after a few more burns, I noticed ash collecting underneath the stove and a distinct metallic odor when things got hot. that little crack became a bigger problem fast. That’s when I realized that a wood stove ash pan replacement was not just necessary—it was urgent. If you’re considering a DIY wood stove ash pan replacement, the good news is it’s easier than you might expect.
A properly functioning ash pan isn’t just about convenience; it’s critical to both stove performance and home safety. If you’re dealing with a warped, corroded, or missing ash pan, it’s time to act. Whether you’re looking at an ash pan replacement for an old wood stove or just learning how to replace a wood stove ash pan for the first time, I’ll walk you through the process like someone who’s done it dozens of times—because I have.
Signs Your Ash Pan Needs Replacement

Over the years, I’ve dealt with every kind of ash pan issue you can imagine—burn-through, warping, even one that literally crumbled when I picked it up. Here’s what to look for:
1. Rust and Corrosion:
Moisture from unseasoned wood or condensation can quickly rust out thin steel pans. You might see bubbling paint, flaky metal, or full-on holes. Once corrosion sets in, it spreads quickly.
2. Cracked or Warped Metal:
Repeated heat cycles and overfilling can warp the pan. If it no longer slides in smoothly or sits flush, you’re not getting a proper ash seal. This leads to spillage and airflow issues.
3. Poor Fit and Ash Spillage:
Ash leaking onto the stove base or hearth is a red flag. A loose fit means you’re probably losing efficiency—and introducing a fire hazard.
4. Damaged or Missing Handles:
If the handle’s missing or broken, good luck emptying it safely. You need solid grip points, especially when the pan is full and hot.
After replacing pans in stoves from Vermont Castings, Hearthstone, and US Stove models, I’ve seen one common truth: ash pan failure sneaks up on you. Addressing it early can save you a lot of headache—and a lot of cleaning.
Types of Replacement Ash Pans Available
When folks ask me what kind of pan to buy, I start with one question: are you replacing an OEM part or going the custom route? Your answer will shape the whole project.
1. OEM vs. Universal Replacements:
Original equipment manufacturer (OEM) pans, like a Jotul ash pan replacement or Quadra-Fire ash pan, offer guaranteed fit but often come at a premium. Universal ash pan replacement for wood stove models can be more affordable, but you’ll need to measure carefully.
2. Custom Wood Stove Ash Pan Replacement:
If you’re working with an antique or off-brand unit, custom fabrication might be your best option. I’ve used local metal shops to replicate pans with heavy-gauge steel. It’s especially helpful for ash pan replacement for old wood stoves where parts aren’t made anymore.
3. Material Matters:
Most newer pans are stamped steel—cheap and effective. Cast iron holds up better over time but adds weight. Stainless steel pans are rare but excellent for high-moisture setups.
4. Dimension Details:
Measure everything—width, depth, height, lip length, and handle clearance. Most Vermont Castings models use a pan around 14×11 inches. Jotul’s common size is closer to 16×12. Always match your stove’s specs or bring the old pan as a template.
Choosing the right wood stove ash pan replacement parts means knowing your stove and trusting your measurements. When in doubt, call the manufacturer or consult a dealer.
Step-by-Step Wood Stove Ash Pan Replacement Guide (DIY)
You might be wondering how to replace a wood stove ash pan without messing anything up. Here’s the process I follow, based on years of hands-on repairs.
Tools You’ll Need:
- Heat-resistant gloves
- Flat-head screwdriver
- Wire brush
- Small pry bar (if pan is stuck)
- Measuring tape
- Shop vac (for cleanup)
1. Cool Down and Clean Up
Ensure your stove is completely cool—don’t rush this. Remove any hot coals or lingering ash with a metal scoop or shovel.
2. Remove the Old Ash Pan
Gently pull the pan out. If it’s stuck, use a small pry bar to loosen it, working carefully around the edges. A little rust around the tabs or rails is common. I usually give the area a quick brush with a wire tool to clear debris.
3. Inspect and Measure
With the pan out, clean the ash drawer cavity. Take accurate internal measurements: length, width, and depth. Measure the lip and note any unusual mounting features. Compare this with the wood stove ash pan replacement part you’re considering.
4. Install the New Pan
Slide in your new pan slowly. It should sit snug without resistance. If it doesn’t align well, double-check dimensions. On some Napoleon wood stove ash pan models, I’ve had to slightly adjust the side rails to fit new aftermarket pans.
5. Test and Adjust
Light a small fire and observe. Check for air leaks or ash buildup. If the new pan rattles or doesn’t sit flush, shim with heat-resistant gasket tape or consult a tech.
Personal Tip:
If the mounting tabs are badly corroded, use a washer and bolt from behind the panel to secure the new pan. It’s a trick I’ve used many times on older Hearthstone units.
Expect the full process to take 30–45 minutes. Most people overcomplicate it—don’t be one of them. For more technical reference, see this guide on wood stove safety standards by the EPA.
Where to Buy Replacement Parts

Finding a reliable wood stove ash pan replacement source can be half the battle.
1. Authorized Dealers:
Start with your stove’s brand. Jotul, Vermont Castings, and Hearthstone all offer factory parts through licensed retailers.
2. Online Retailers:
Wood stove parts sites like Woodman’s Parts Plus, Stove Parts Unlimited, and even Amazon stock a good range of ash pan replacement wood stove models. Be cautious with sizing—verify dimensions.
3. Custom Fabrication:
For tricky setups, local metal shops can build a custom wood stove ash pan replacement. I’ve had success with 16-gauge steel and angle iron for support lips.
4. Salvage and Reuse:
Don’t overlook salvage yards, estate sales, or Craigslist. Many ash pan replacement for old wood stoves can be adapted with minimal work.
Ash Pan Replacement Cost Wood Stove Estimate:
- OEM parts: $40–$90
- Universal: $25–$50
- Custom fabrication: $60–$150 depending on complexity
Maintaining Your New Ash Pan
Proper cleaning after a wood stove ash pan replacement is key to longevity and rust prevention. A new ash pan can last years—if you treat it right.
1. Clean Often:
Empty it regularly, ideally after every 3–5 burns. Letting ash build up leads to rust and airflow issues. , don’t skip our DIY chimney cleaning guide—it walks you through the whole process.
2. Prevent Rust:
Apply a thin coat of stove polish or high-heat oil on steel pans, especially in humid seasons. Don’t store ash in the pan long-term.
3. Seasonal Checkups:
In spring and fall, inspect for cracks, warping, or weld separation. Clean with a wire brush and inspect rails for movement.
4. Warning Signs to Watch For:
If the pan starts catching on removal, or you notice ash accumulating under the stove—start planning a replacement.
Conclusion
Replacing a wood stove ash pan might sound intimidating at first, but once you’ve done it, it’s one of the simplest, most satisfying DIY stove tasks. With the right part and some basic tools, you’ll restore efficiency, prevent mess, and extend your stove’s life.
I’ve replaced ash pans on everything from 1970s Vermont Castings Resolutes to modern US Stove EPA-certified units—and every time, it starts the same way: a few stray ashes, a rusty corner, a stubborn drawer. But with preparation, it always ends with a cleaner, safer, and better-burning stove.
Take the time to do it right, and you won’t just replace a part—you’ll gain confidence in keeping your home heated safely and efficiently for seasons to come.

