Introduction
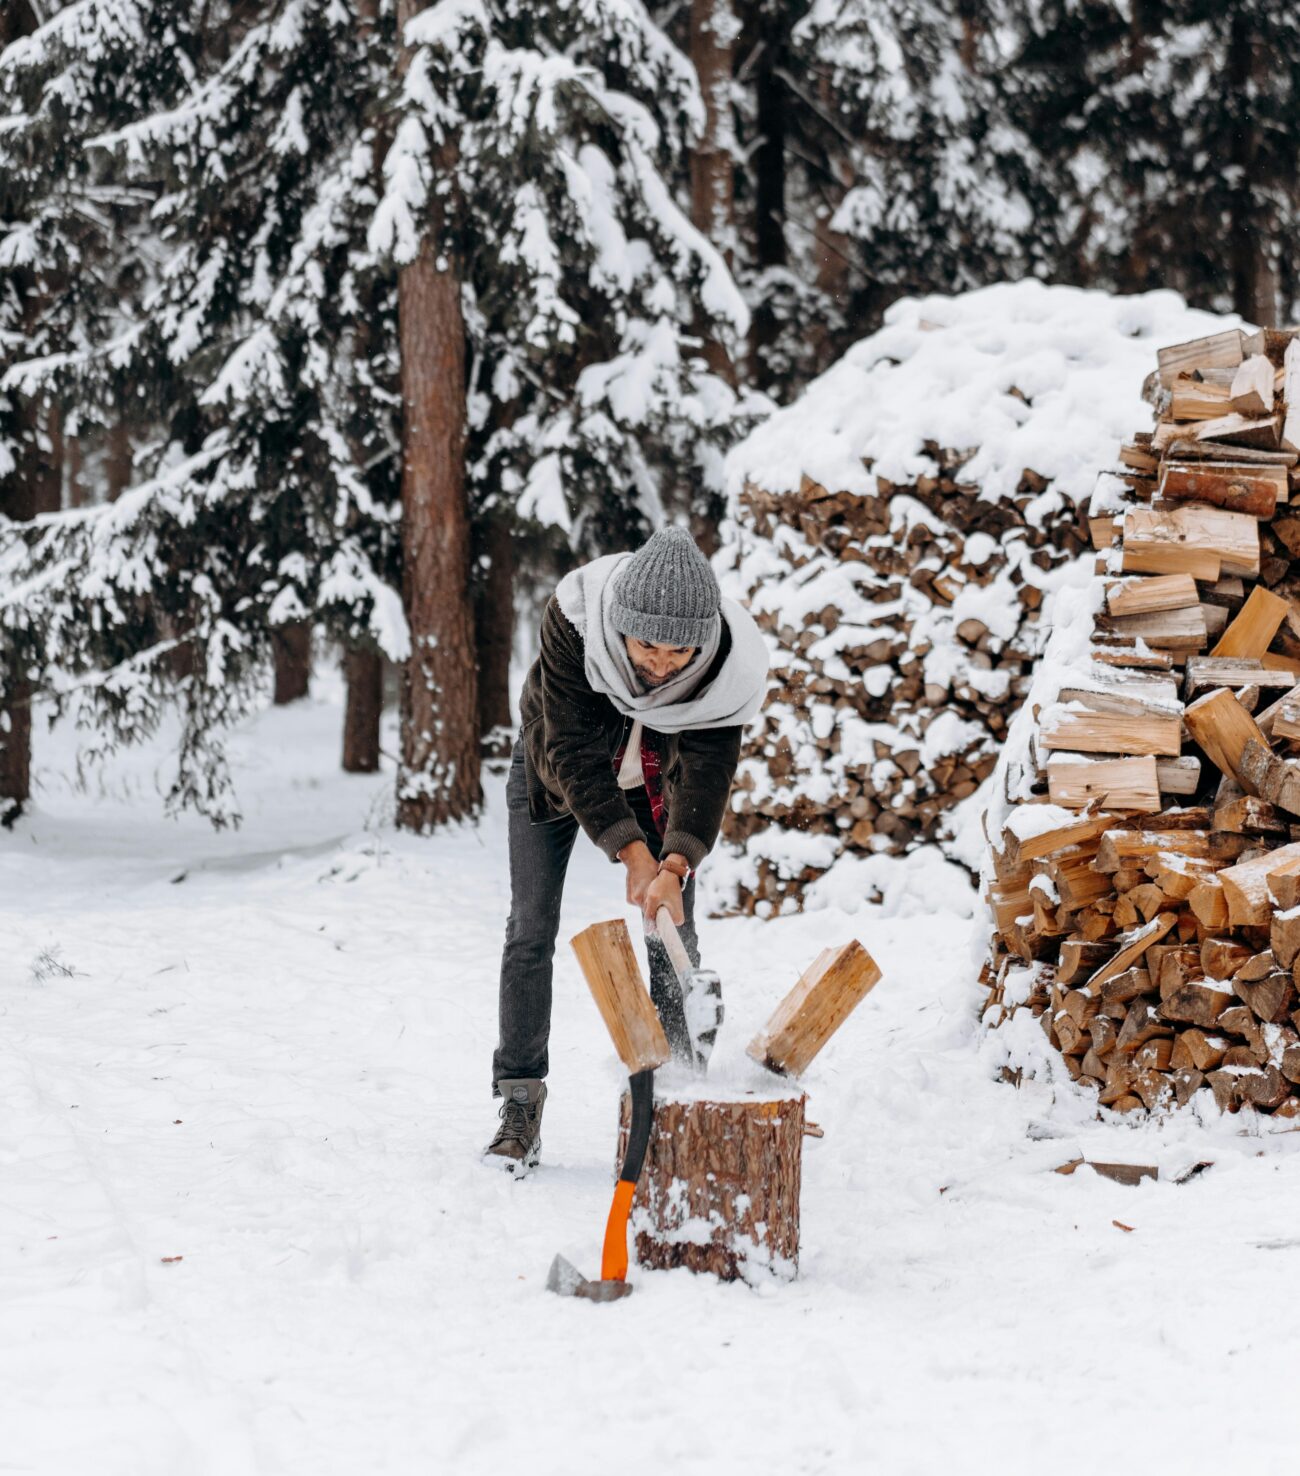
There’s something deeply satisfying about splitting logs for log burner on a crisp Vermont morning, steam rising from your breath and a stack of seasoned hardwood waiting for attention. After over 20 years of chopping, stacking, and stoking, I can confidently say that splitting logs for log burner use isn’t just a chore, it’s an essential ritual for any wood stove enthusiast.
Back when I first got started with my Jotul F500 wood stove, I made every mistake in the book. From trying to burn oversized green logs to swinging a dull axe like I was Paul Bunyan, I quickly realized that knowing how to split properly is just as important as the stove itself. Splitting logs for log burner efficiency, safety, and comfort is something you learn through years of blistered hands, backaches, and trial-and-error.
If you’re new to the world of wood stove fuel preparation or just want to sharpen your technique, this guide is for you. From choosing the right tools to mastering splitting wedge techniques, and understanding seasoned wood for burning, I’ll walk you through everything you need to know about splitting logs for log burner performance.
Understanding Wood Types for Log Burners

Before you ever touch a maul or fire up the splitter, understanding the kind of wood you’re working with is step one. In Vermont, sugar maple, ash, and beech are my go-to hardwoods, but each has its quirks.
Hardwood vs Softwood Splitting
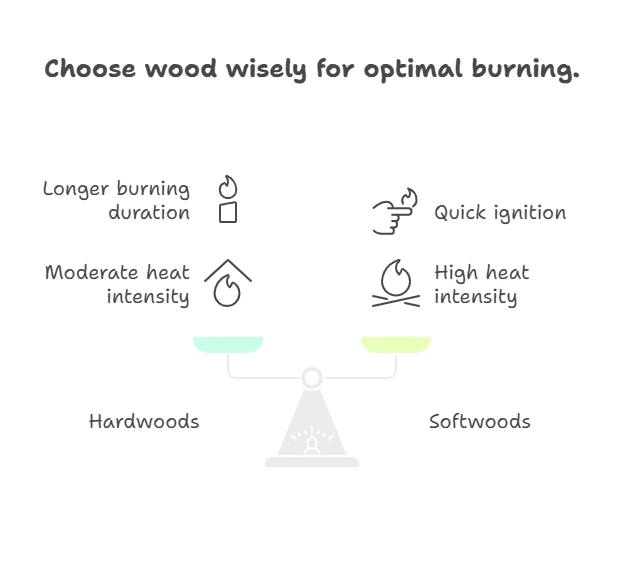
Hardwoods like oak and hickory are dense, burn longer, and are ideal for overnight burns. Softwoods, such as pine and spruce, catch quickly and burn hotter, but faster, they’re great for kindling but not long-lasting heat.
Best Wood Species for Log Burners
- Sugar Maple: Burns hot, splits relatively easily when seasoned.
- White Ash: A dream to split and dries faster than most.
- Birch: Burns quickly and hot but can be tricky to split due to stringy grain.
Moisture Content Matters
Aim for 15-20% moisture content. Anything over 25% is asking for creosote buildup and poor heat output. I use a digital moisture meter (I swear by the General Tools MMD4E) to check logs before stacking.
According to the U.S. Environmental Protection Agency (EPA), properly seasoned wood not only burns cleaner and hotter but also reduces harmful emissions from your stove.
Remember: the type of wood affects everything from splitting difficulty to log burner efficiency. Knowing your local species is part of becoming a true firewood connoisseur.
Essential Tools for Splitting Logs for Log Burner
Having the right tools isn’t a luxury, it’s a necessity. Trust me, I once spent a full day trying to split green oak with a dull hatchet. It was…educational.
Splitting Maul vs Axe
A splitting maul is your best friend. I use the Fiskars X27, 36 inches of raw splitting power. Compared to a traditional axe, a maul has a heavier head and wedge-shaped design perfect for driving apart fibers instead of slicing.
Fiskars even provides a great resource on choosing the right splitting tool if you’re just starting out or considering an upgrade.
Other Firewood Splitting Tools
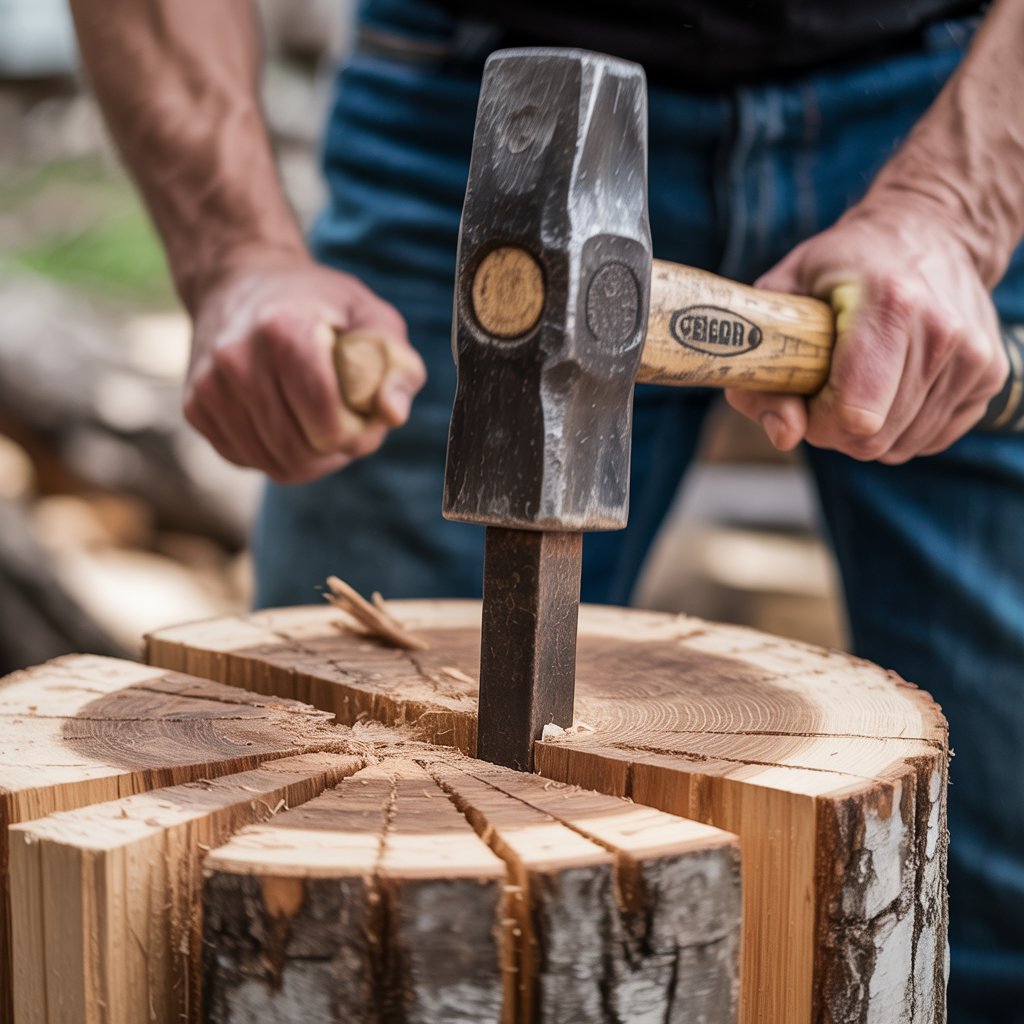
- Wedges & Sledgehammer: Crucial for gnarly rounds and knotty logs. Use steel wedges for frozen rounds in mid-winter.
- Hydraulic Log Splitter: A lifesaver for large loads. I rent a 27-ton Dirty Hand Tools splitter for my fall haul.
- Chainsaw (Optional): For bucking logs to size. Just be sure it’s sharp.
Safety Equipment Must-Haves
- Steel-toe boots (Red Wing 2406s are my go-to)
- Safety goggles or face shield
- Cut-resistant gloves
- Ear protection
Tool Maintenance Tips
Keep your maul sharp with a file, check handles for cracks, and oil wooden handles in off-season. A well-maintained tool is safer and far more effective.
Step-by-Step Log Splitting Techniques
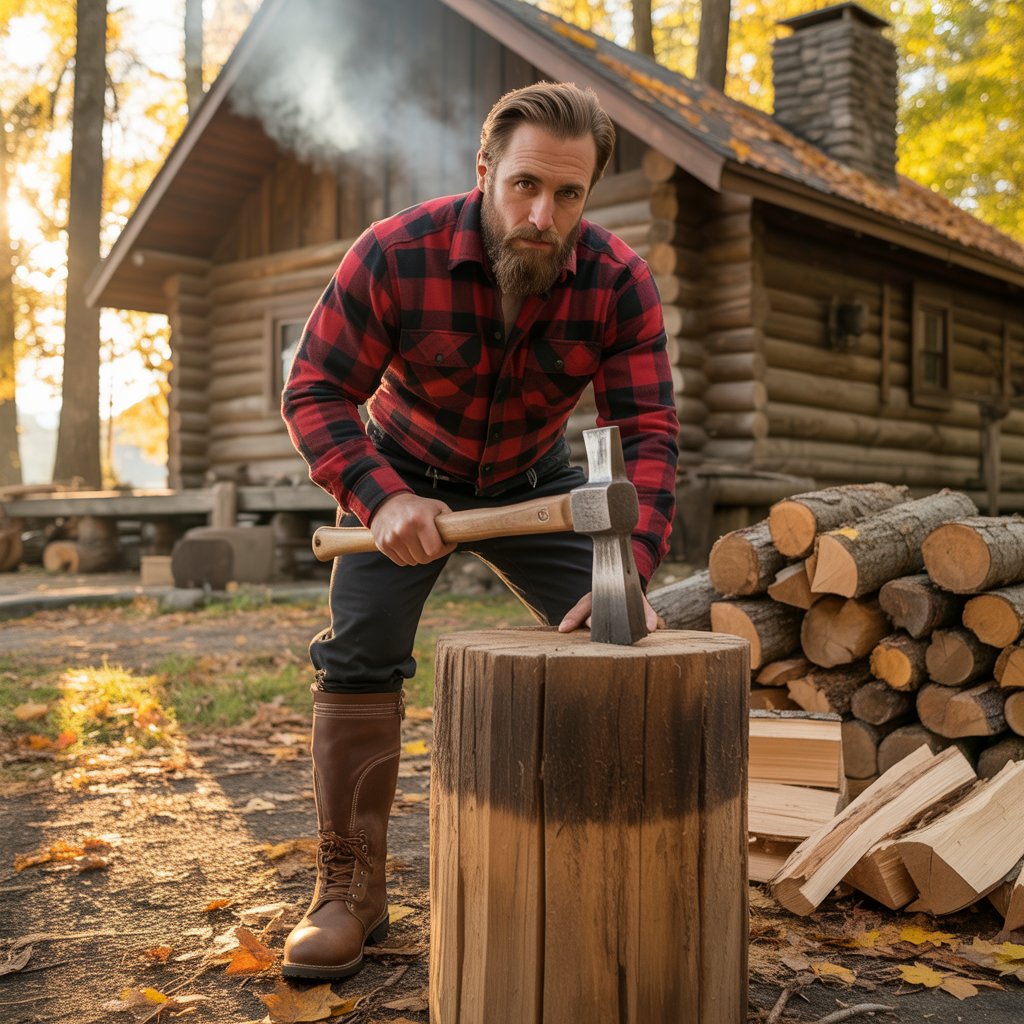
Alright, let’s get to the heart of it: how to actually split logs for your log burner.
1. Proper Stance and Grip
Stand with feet shoulder-width apart, knees slightly bent. Use both hands on the handle, dominant hand near the base. Your swing should be controlled and powerful, not wild.
2. Reading the Grain
Look for natural cracks and growth rings. Let the wood do some of the work. Aim your strike along the grain lines.
3. Splitting Different Woods
- Straight-grained Ash: A pleasure to split.
- Knotty Pine: May require a wedge.
- Frozen Rounds: Split easier but can fracture dangerously. Stand clear.
4. Dealing with Tough Logs
Use a wedge and sledge on particularly stubborn rounds. For crotch wood, target the edges instead of the center.
5. Let the Log Tell You When It’s Ready
Sounds odd, but trust me, freshly cut logs don’t always want to split right away. If you hear a dull “thud” instead of a nice crack, set that round aside for a few weeks. Some logs split cleaner after they’ve dried out a bit. Patience often beats brute force.
6. Use the “Tap and Crack” Method for Precision
Instead of swinging full force every time, start with a light guiding tap to set the maul into the grain. Then, follow through with a powerful strike. This method helps avoid glancing blows and makes your split more accurate, especially useful when splitting narrow logs or prepping kindling.
7. Common Mistakes to Avoid
- Swinging wildly
- Using dull tools
- Splitting on unstable surfaces
- Ignoring protective gear
Practice makes perfect. After a couple seasons, you’ll be splitting logs for your log burner like a pro.
Sizing Logs for Optimal Burner Performance
Not all logs are created equal. Your log size can dramatically affect your stove’s output.
Ideal Log Dimensions
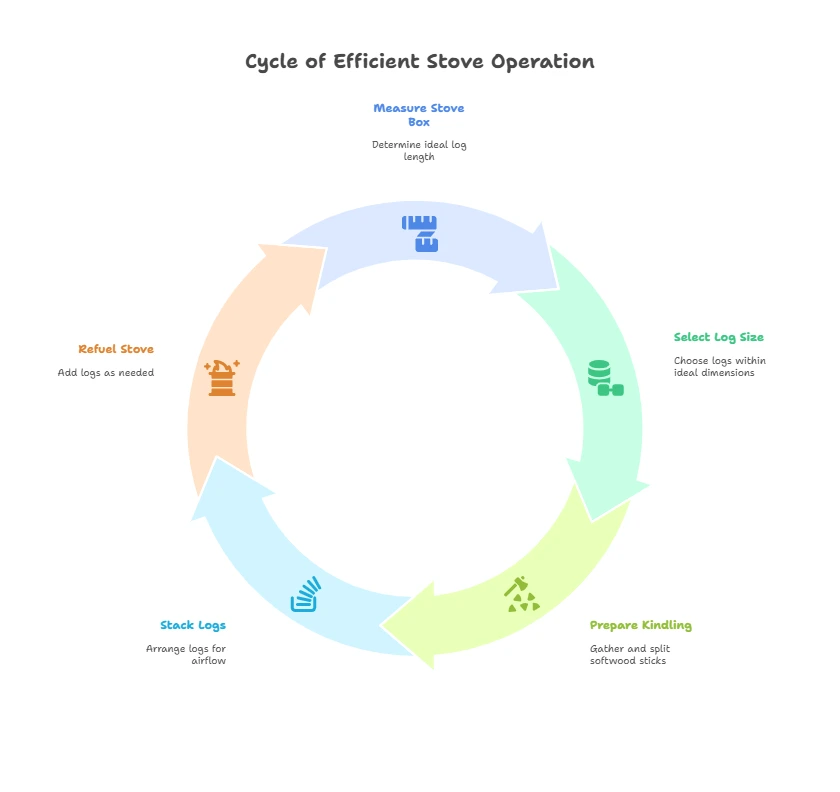
- Length: 14-16 inches (measure your stove box!)
- Diameter: 3-6 inches
Logs that are too large smother flames; too small, and you’re constantly refueling.
Kindling Preparation Techniques
Start with softwood sticks no larger than 1 inch thick. I like to keep a separate bin of kindling split from cedar scraps.
Storage and Stacking
Always stack with airflow in mind. Use a raised wood rack or pallets. Top-cover only to avoid moisture retention.
Not sure how much wood you really need to split this season? I break down everything in my article on Measuring a Cord of Firewood: Expert Tips—it’s a must-read if you’re stacking by the cord and want to avoid getting shorted.
And if you’re shopping for wood instead of splitting your own, you’ll want to check out my Complete Guide to Buying, Measuring & Pricing a Cord of Firewood—it’s packed with real-world pricing advice and what to watch for when buying in bulk.
Safety Considerations When Splitting Logs for Log Burner

I’ve had my share of close calls, a glancing maul, a slipping log, safety isn’t optional.
Essential Protective Gear
- Helmet with face shield
- Kevlar gloves
- Cut-proof pants (especially with chainsaws)
Safe Splitting Environment
- Flat, stable ground
- Clear work area
- Never split indoors
First Aid Preparedness
Keep a basic first aid kit nearby. I always have bandages, antiseptic, and tape in my garage.
Teaching Kids Safety
Make it a family affair, but always supervise. Start kids with stacking and kindling prep before allowing tool use.
Advanced Techniques and Troubleshooting
Once you’ve got the basics down, you’ll want to up your game.
Dealing with Knotty Wood
Split around the knots instead of through. Use a wedge if needed. Or designate these as outdoor fire pit wood.
Hydraulic Splitter Tips
Let the machine do the work. Don’t force it. Keep your hands clear and check hydraulic fluid regularly.
Frozen Log Splitting
Winter splitting can be easier, but watch out for sudden splits and flying chips. Always wear full-face protection.
Improving Efficiency
Split logs when freshly cut, they’re softer before seasoning. Rotate your stack to dry evenly.
Seasonal Considerations and Planning
Best Times to Split Wood
Late winter to early spring is ideal. It gives logs a full summer to season before next burn season.
Planning Your Wood Supply
I plan two years ahead. Stack this year’s cut in a separate area labeled with the date.
Weather Considerations
Avoid rainy weeks. Wet logs are harder to split and prone to mold.
Storage Solutions
I use a metal roof wood shed with open sides. You want sun and air, not rain and snow.
Conclusion: Build a Better Burn
Splitting logs for log burner use is more than a task, it’s a skill, a tradition, and a way to connect with your home heating. With the right knowledge, tools, and a bit of grit, you’ll not only improve your log burner efficiency, but also save money, stay safer, and feel a deeper satisfaction with every burn.
So next time you’re out splitting, remember: every clean split, every neatly stacked pile, is one more step toward heating your home the smart, seasoned way.
Got your own log splitting tips? Drop a comment below or check out more articles at Wood Stove Hub, like our guides on wood stove maintenance, kindling preparation, and wood moisture content monitoring.
Stay warm, stay sharp, and swing safe.
FAQs About Splitting Logs for Log Burner
What’s the best time of year for splitting logs for log burner use?
Honestly, I’ve found that late winter into early spring is the sweet spot. The sap’s down, the wood is easier to split, and you’ve got all summer and fall to season it. Splitting logs for log burner in February might be cold, but it pays off come November.
How do I know if my firewood is properly seasoned?
Seasoned wood sounds hollow when knocked together and has visible cracks on the ends. But to be sure, I use a moisture meter, aim for 15–20% moisture content. Anything above that and you’re hurting your log burner performance and building up creosote.
Is it better to use a splitting maul or an axe?
For splitting logs for log burner fuel, I recommend a splitting maul. It’s heavier, has a wedge-shaped head, and is far better suited for busting open rounds. Axes are better for felling or limbing, not splitting. I’ve used the Fiskars X27 for years and it never disappoints.
How big should I split my logs for a wood stove?
Aim for 14–16 inches long and no more than 6 inches in diameter. Smaller stoves may need shorter pieces, so measure your firebox. Oversized logs won’t burn efficiently and can choke the flame. Proper sizing when splitting logs for log burner makes all the difference in burn time and heat output.
Can I split logs when they’re frozen?
Absolutely, and in fact, frozen logs often split easier, especially if they were freshly cut. Just be cautious: frozen fibers can cause splits to snap violently, sending chips flying. I always wear a face shield and gloves when splitting logs for log burner use in the dead of winter.
What’s the safest way to split tough or knotty logs?
Don’t try to fight the knots. Instead, split around them. I usually start from the edges and work inward. A steel wedge and sledgehammer are your best friends here. For truly gnarly rounds, I’ll set them aside for the hydraulic splitter. Safety and sanity first, especially when splitting logs for your log burner daily in the heating season.

