Introduction: When I First Learned the Hard Way
I’ll never forget the night I learned about wood stove overfiring the hard way. My neighbor, Jim, had a beautiful Vermont Castings stove. He was proud of it, kept it gleaming and hot every winter. But one night, I saw flames dancing way too high through his chimney, and the next morning, his flue pipe was warped like a pretzel. That wasn’t just a hot fire, that was wood stove overfiring in full, destructive force.
In simple terms, wood stove overfiring happens when your stove burns hotter than it’s designed to handle. We’re talking temperatures beyond safe limits, often due to too much draft, too much fuel, or poor air control. It sounds simple, but the damage? Oh, it’s real.
According to the National Fire Protection Association, heating equipment is the second leading cause of U.S. home fires, and wood stoves are often part of that statistic. Many of those incidents trace back to misuse, including, you guessed it, wood stove overfiring.
In this guide, I’ll walk you through everything I’ve learned (sometimes the hard way) about preventing wood stove overfiring. We’ll cover how to spot it early, what temperatures to stay under, how to prep your stove, and what to do if things go south. If you’re running a stove, you need to read this.
Whether you’re a seasoned burner or just installed your first soapstone beauty, understanding wood stove overfiring could save you thousands, and maybe your home. Let’s dive in.
What Is Wood Stove Overfiring?
Let me be clear, not all hot fires are bad. But when your stove climbs past safe operating temperatures and keeps climbing? That’s wood stove overfiring.
Technically speaking, wood stove overfiring starts when internal stove temperatures exceed 900°F for steel stoves, 800°F for cast iron, and around 700°F for soapstone models. Manufacturers like Blaze King and Jotul warn against exceeding these limits. Normal operation keeps the firebox in a sweet spot, usually between 300°F and 600°F. That range gives you solid heat without stressing your stove’s materials.
What’s tricky is how subtle the signs of wood stove overfiring can be. I’ve seen stoves that looked fine from the outside, but the baffle was warped and cracked inside. Many folks miss the cues until it’s too late.
What most people don’t realize is that even stoves labeled “EPA-certified” can overfire if used improperly. The EPA’s guide to wood-burning appliances has solid info, but real-world usage still comes down to how you manage heat and airflow.
It happens more than people think. Maybe you were cold and threw in too much kiln-dried oak. Or you left the air control wide open for too long. Or maybe your chimney has too much draft on a windy night. Next thing you know, the thermometer’s pinned. Here’s the thing, wood stove overfiring isn’t always dramatic. It can build slowly, night after night, shaving years off your stove’s life.
A common culprit? Letting the fire roar unsupervised after loading. I’ve seen people load up before dinner, forget about it, and come back to a firebox glowing orange. That’s not cozy. That’s damage in progress.
Bottom line, wood stove overfiring is operating your stove beyond safe temps, whether for five minutes or five hours. And even a few overfires a season can add up fast.
Recognizing the Warning Signs
Most articles only talk about glowing metal or a warped pipe. But wood stove overfiring leaves way more fingerprints than that.
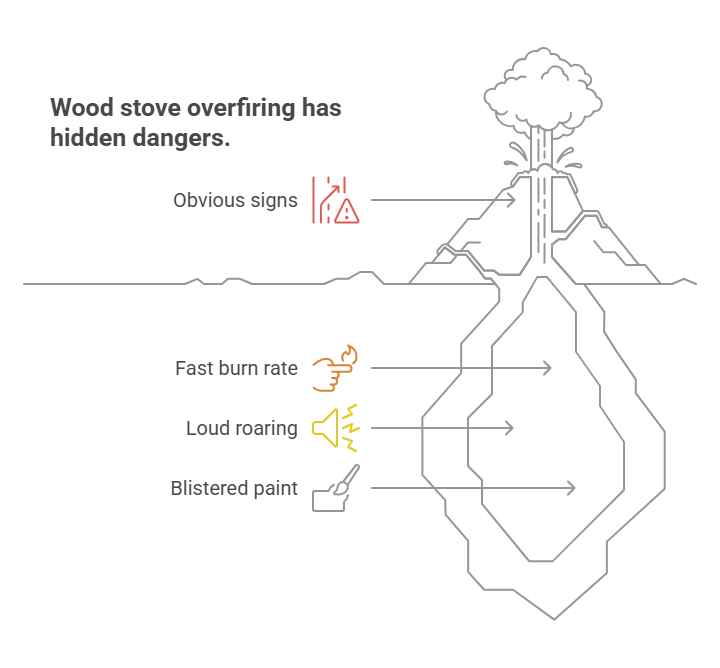
Let’s start with early signs, the ones you can catch before real damage sets in:
- Overly fast burn rate: If your wood is seasoned and your stove still burns through it like tissue paper, that’s a red flag.
- Unusually loud roaring: Not the normal crackle, but a jet-engine sound, especially right after adding wood.
- Blistered paint: Look at the top of your stove. Any bubbling or discoloration? That’s heat damage.
Now let’s talk materials.
Cast iron stoves often show cracks at the seams or deformed plates. The enamel can chip or flake off.
Steel stoves tend to warp on the top plate or around the doorframe. You might notice the door doesn’t close flush anymore.
Soapstone? It can crack internally, often without visible outside damage, until the heat output drops or smoke leaks.
And don’t ignore your chimney:
- Excessive creosote in a short time? Could mean you’ve been overfiring without knowing.
- Glowing or red-hot stovepipe sections? That’s a five-alarm warning.
Temperature readings are the big one. A stovetop thermometer pegged above 650°F for more than a few minutes? You’re not just getting warm, you’re wood stove overfiring. I’ve even heard weird ticking or pinging sounds during extreme heat. That’s metal expanding past its comfort zone.
Take it from someone who once ignored a squeaky flue damper. Two months later, the pipe collapsed inward from heat fatigue. The sooner you recognize these signs, the better your odds of avoiding long-term damage. Don’t wait until the stove tells you it’s hurting, watch for the whispers before it screams.
Temperature Guidelines by Stove Type
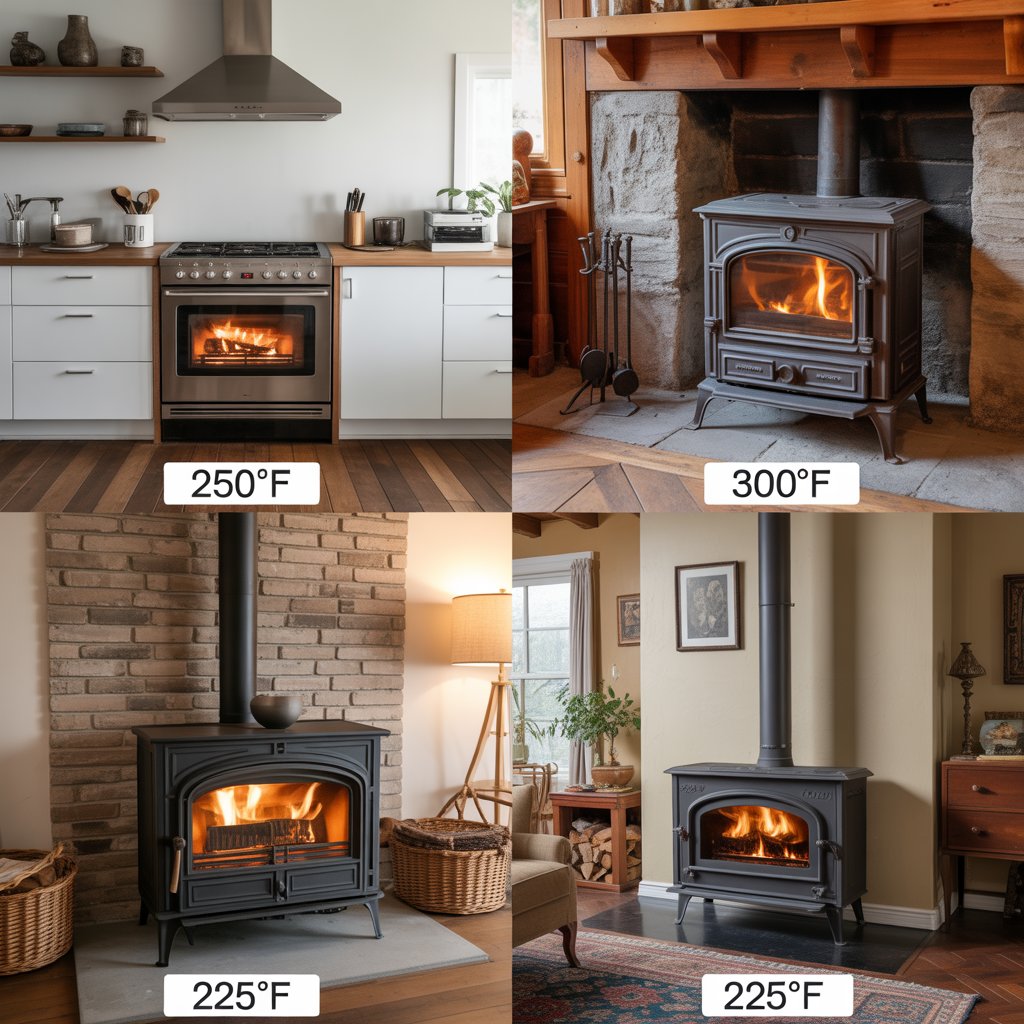
One size doesn’t fit all. Different stoves handle heat differently, and if you treat them all the same, you’re asking for wood stove overfiring.
Steel Stoves:
- Ideal range: 300°F to 600°F
- Max safe temp: 900°F
- Overfiring risk: Fast heat gain, watch closely after loading.
Cast Iron Stoves:
- Ideal range: 275°F to 575°F
- Max safe temp: 800°F
- Overfiring risk: Holds heat longer, easy to push too far without realizing.
Soapstone Stoves:
- Ideal range: 200°F to 500°F
- Max safe temp: 700°F
- Overfiring risk: Slow to heat, slow to cool. Danger builds over time.
Now, you might ask, where do you measure? That’s key.
For magnetic stovetop thermometers, place it 6-8 inches from the flue collar on the top plate. For probe thermometers, install them into the flue pipe 18 inches above the stove.
And let’s talk seasonal adjustments. In winter, you’ll naturally burn hotter to heat your home. But stack effect and outside air temp mean your draft increases. That makes wood stove overfiring more likely, even with the same burn settings.
Here in the Northeast, I check my thermometer hourly during January cold snaps. Down South? You might get away with every few hours.
Bottom line, know your stove’s limits and use a thermometer. Otherwise, you’re flying blind, and that’s how wood stove overfiring sneaks up on you.
The Real Damage from Wood Stove Overfiring
Here’s where things get ugly. Wood stove overfiring isn’t just a heat issue, it’s a destruction issue.
In the short term, you might see warped baffles, cracked firebricks, or flaking enamel. That’s your stove crying for help. Left unchecked, overfiring starts attacking the structure.
Within a few hours of sustained overfire, metal starts to weaken. I’ve seen fireboxes with sagging ceilings and doors that won’t seal. Warped top plates are especially common in steel stoves. Soapstone stoves? Once that stone cracks, repairs are complicated and costly.
Give it a few months of on-and-off overfiring, and you could lose your secondary burn system. Those tubes or reburn channels inside the stove are built to handle heat, but not abuse. Once those go, you lose efficiency fast.
Now, long-term? That’s where insurance nightmares start. Most stove warranties are voided by evidence of wood stove overfiring. And trust me, manufacturers can tell. A warped baffle or heat-stressed weld is a dead giveaway.
Insurance adjusters know the signs too. If you ever need to make a fire damage claim, they’ll inspect the stove. If they find proof of overfiring, they could deny your claim. I’ve seen it happen.
Let’s talk dollars. A new baffle? $200 to $400. Replacing a warped top? Up to $800. A cracked soapstone panel? Could be over $1,200. And that’s before we even touch the flue pipe or chimney.
The worst case I saw? A friend up north overfired his stove all winter. By spring, his flue had pulled away from the wall, and the interior of the stove looked like burnt toast. He ended up replacing the whole system. Total cost? Nearly $6,500.
Wood stove overfiring doesn’t just hurt your stove, it hits your wallet hard. And all of it is preventable.
Prevention Strategies That Actually Work
Let me tell you, avoiding wood stove overfiring takes more than just watching a thermometer. It starts before you even strike the match.
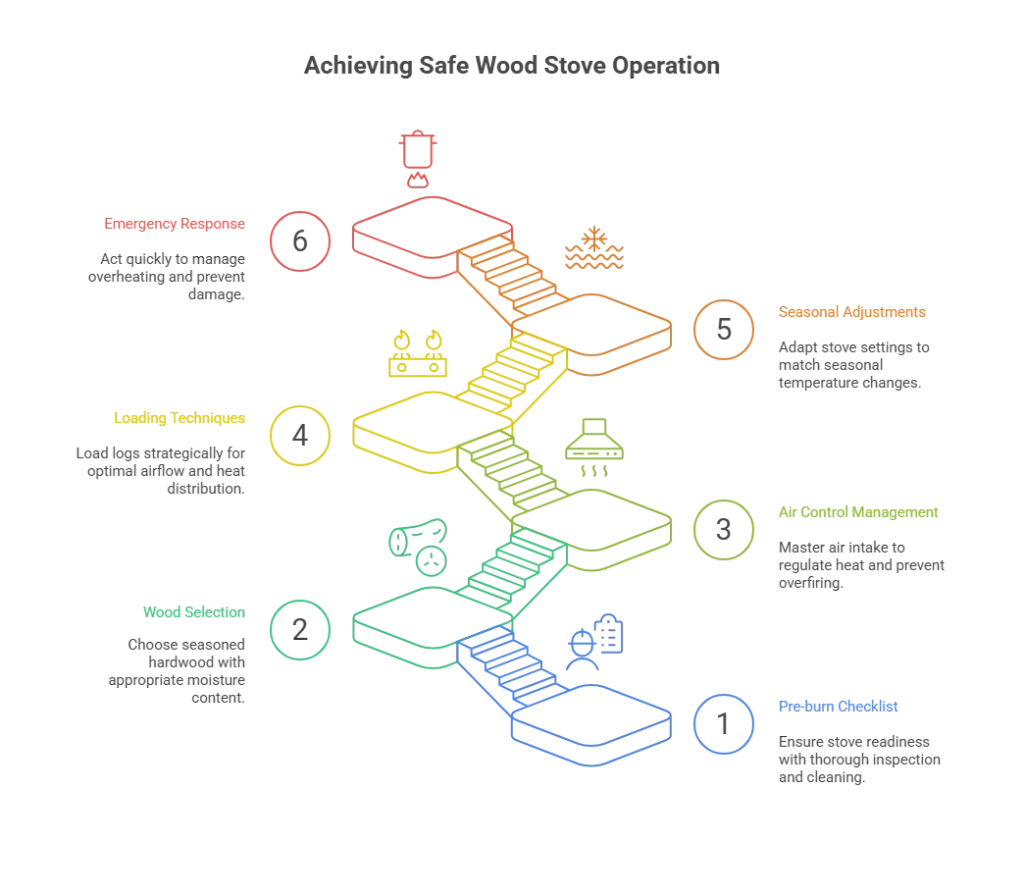
Pre-burn Checklist:
- Clean your chimney and stovepipe at the start of every burn season
- Inspect baffles and bricks for cracks
- Check door seals for gaps or wear
If your stove starts out in poor shape, you’re already behind.
Wood Matters: Burning wet wood is bad, but burning ultra-dry wood can be just as risky. Kiln-dried hardwood, if over-stacked and unrestricted, creates fast, high heat. I always go with seasoned hardwood around 18–20% moisture content. I check it with a moisture meter, trust me, it’s worth the $30. If you’re unsure which firewood is best for long, safe burns, I put together a full guide based on 20+ years of testing wood types in real homes. Here’s how to choose the best wood for your fireplace.
Air Control Management: Here’s the biggest difference-maker. Learn your air intake system. On my stove, I start with full air for ignition, then dial it down gradually over 20 minutes. Never walk away right after loading. I wait until I see secondaries firing before I reduce air.
Loading Techniques:
- Don’t fill the box to the brim
- Criss-cross logs for airflow
- Space logs out if you’re burning dry wood
I also avoid stacking logs all the way to the top plate. That radiates heat directly to the stove’s most sensitive parts.
Seasonal Adjustments: Cold air outside increases chimney draft. That means your stove burns hotter even at the same setting. On January nights, I use less wood per load and close the air sooner. If it’s 50°F out, I burn wider splits and give it more air.
Emergency Response: If your thermometer spikes or your stovepipe glows, act fast:
- Shut air controls fully
- Close damper if equipped
- Use a stove-top kettle to add moisture (steam helps reduce fire intensity)
- If you have fire bricks, keep an extra on hand for emergencies
The faster you respond, the less long-term damage you’ll see. Wood stove overfiring is preventable, but only if you’re intentional every single time. And if your stove sits close to a wall or furniture, don’t overlook your heat shield setup. This heat shield safety guide breaks down what’s code-compliant and what’s not.
Choosing and Using a Stove Thermometer
This drives me crazy when I see folks running a stove without a thermometer. That’s like flying blind in a storm.
Types of Thermometers:
- Magnetic: Easy to use, place on stovetop or pipe
- Probe: Installed inside stovepipe for more accurate flue readings
I use both. Magnetic for surface temps, probe for internal stack temps. It gives me the full picture.
Proper Placement: For magnetic types, place 6-8 inches from the flue collar. For probes, aim for 18 inches above the stove.
Calibration and Maintenance: Most magnetic types can drift over time. I test mine monthly against a digital infrared thermometer. If it’s off by more than 50°F, I replace it.
Reading Tips:
- 250–300°F: Too cool, creosote danger
- 300–600°F: Ideal range
- 650°F+: You’re nearing wood stove overfiring territory
If you’re unsure how much wood you should even be burning for your space size or insulation level, check out this handy wood heating calculator. It’ll help you size your fuel loads more accurately, especially useful during cold snaps when you’re tempted to overload.
Budget vs Premium: You don’t need to spend a fortune. I’ve used $15 Rutland thermometers and $80 Condar probes. The key is reading them regularly. If you’re shopping around, check out this stove thermometer buyer’s guide to get a feel for what’s out there, but take the reviews with a grain of salt.
A thermometer won’t prevent wood stove overfiring on its own, but it’s the one tool I’d never run a stove without.
Troubleshooting Common Overfiring Causes
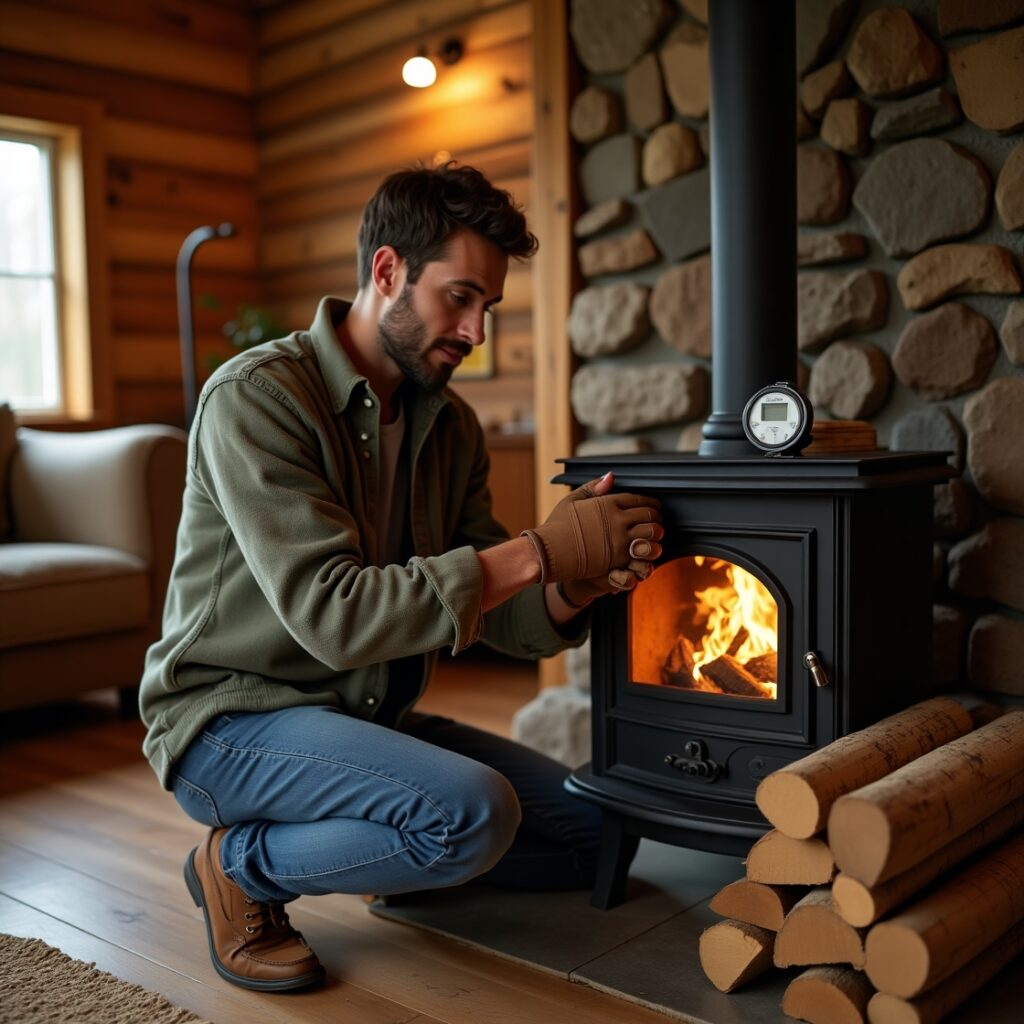
Even the best stove can get pushed too far. If you’re seeing signs of wood stove overfiring, here’s how to troubleshoot.
Draft Problems: Too much draft sucks air through the firebox, creating higher temps than intended. Check for:
- Extra tall chimneys
- Uninsulated or outside flues
- Windy ridge exposure
Installing a barometric damper or flue damper can help regulate this.
Fuel Issues: Ultra-dry wood, large loads, and resin-heavy softwoods like pine can spike temperatures fast. Stick to properly seasoned hardwood, and space your loads.
User Error Patterns: Leaving the air intake wide open after loading is a common mistake. So is walking away before secondaries kick in. Set a timer if you tend to forget.
Seasonal Draft Variations: That same air control setting that works in fall might overfire in January. Keep adjusting your burn habits as temperatures drop.
Equipment Malfunctions: Stuck dampers, leaking door seals, or cracked baffles can all lead to overfiring. I do a 5-minute inspection weekly during peak season. Just a quick once-over to catch issues before they escalate.
A small change can mean the difference between efficient heat and wood stove overfiring. Don’t skip the basics.
FAQs about Wood Stove Overfiring
At what temperature does wood stove overfiring begin?
Generally, steel stoves overfire around 900°F, cast iron at 800°F, and soapstone at 700°F. If your thermometer reads above 650°F consistently, you’re flirting with wood stove overfiring.
Can wood stove overfiring cause a house fire?
Yes, especially if it damages your flue pipe or ignites nearby combustibles. A red-hot stovepipe is a major fire risk.
How do I know if my stove has been overfired in the past?
Look for warped parts, cracked firebricks, or blistered paint. Check the baffle and door seals for damage. These are common wood stove overfiring clues.
Does wood stove overfiring void my warranty?
Almost always. Most manufacturers state in the manual that overfiring voids coverage. They can detect heat damage easily.
What should I do if my stove is currently overfiring?
Close the air, reduce fuel contact with flame, add moisture via steam, and monitor temps closely.
Can professional installation prevent wood stove overfiring?
It helps. A pro will match the stove with the right chimney height and flue size, which reduces overfiring risk.
How often should I check my stove temperature during operation?
When actively burning, check it every 30–60 minutes. If you’re running hot or during cold snaps, check even more often to prevent wood stove overfiring.
Conclusion
If there’s one thing I’ve learned after decades of burning wood, it’s this: wood stove overfiring doesn’t just happen to rookies. It sneaks up on anyone not paying attention. But here’s the good news. With the right thermometer, good wood, and a little discipline, it’s entirely preventable.
Watch your temperatures. Learn your stove’s behavior in different weather. Adjust your air and loading accordingly. And when in doubt, check again. If you haven’t already, get your stove inspected. A professional can catch issues early and give you tips specific to your model and setup. Because in the end, it’s not just about protecting your stove. It’s about protecting your home, your family, and your peace of mind.
Don’t wait for that warped pipe or cracked stone panel. Prevent wood stove overfiring before it starts, and you’ll burn safer and smarter for years to come.


I have a cast iron conolidated dutchwest cat stove. I couldn’t get it up to proper temp so I loaded all hardwoods to the top. My stove is overfiring. I immediately shut air flow and flu. Its coming down but should I be concerned there is already damage? Its been ovefiring about 1/2 hour.
Hi Anita, glad you caught it quickly. A 30-minute overfire usually isn’t enough to ruin a cast-iron Dutchwest, especially since you shut the air and flue right away.
Once the stove is completely cool, just give it a quick check:
– Look at the baffle and firebricks for any cracks or warping
– Make sure the door gasket still seals well
– Check the stovepipe for any discoloration
If everything looks normal, you’re most likely fine. Those stoves are tough, and a short overfire rarely causes serious damage. If anything feels off on your next burn, feel free to ask!