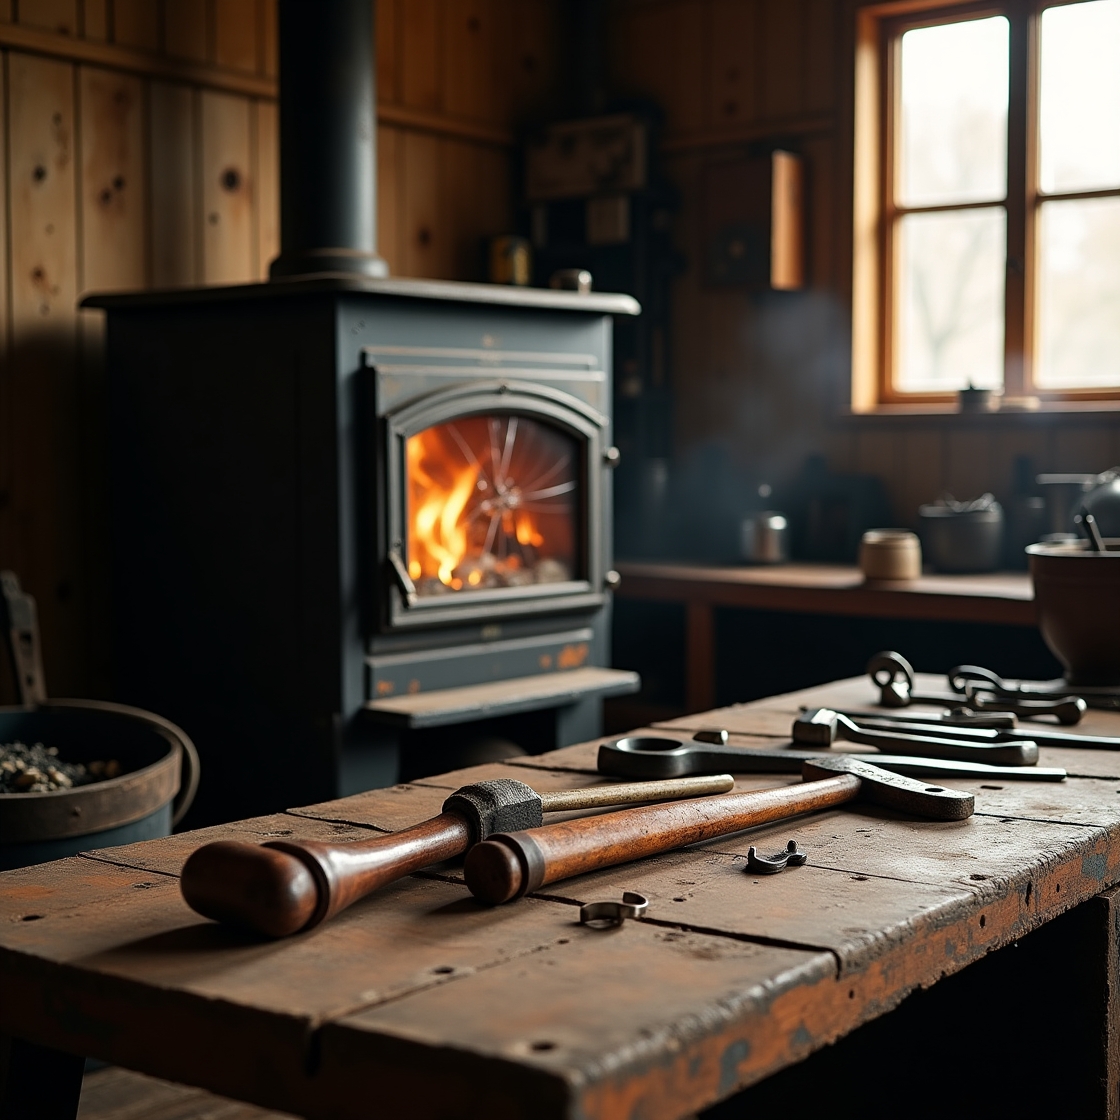
A cracked or broken wood stove glass door doesn’t mean your cozy winter nights are over. Wood stove glass door replacement is a straightforward DIY project that can save you hundreds of dollars in professional repair costs while restoring your stove’s efficiency and safety.
Whether you’re dealing with thermal stress cracks, impact damage, or simply want to upgrade to newer glass technology, this comprehensive guide will walk you through every step of replacing wood stove glass door components safely and effectively.
Understanding Why Wood Stove Glass Doors Break
Before starting your wood stove glass door replacement, it’s crucial to understand what causes these failures to prevent future damage. Knowing the main causes helps you avoid repeating them after your wood stove glass door replacement is done.
Thermal Shock and Stress The most common cause of wood stove glass door cracked situations is rapid temperature changes. When cold air hits extremely hot glass, thermal stress creates micro-fractures that eventually spread into visible cracks.
Impact Damage Accidentally hitting the glass with firewood, tools, or closing the door too forcefully can cause immediate cracks or chips that compromise the entire door’s integrity.
Age and Natural Wear Over time, repeated heating and cooling cycles weaken the glass structure. Most wood stove glass doors need replacement every 5-10 years depending on usage frequency and maintenance quality.
Poor Installation Issues Incorrectly installed glass with uneven pressure points or inadequate gasket sealing creates stress concentrations that lead to premature failure.
According to the EPA’s Burnwise Program, rapid temperature changes are the leading cause of cracked stove glass.
What You’ll Need: Tools and Materials
When planning a wood stove glass door replacement, having the right tools and high-quality materials is essential for a safe and lasting result.
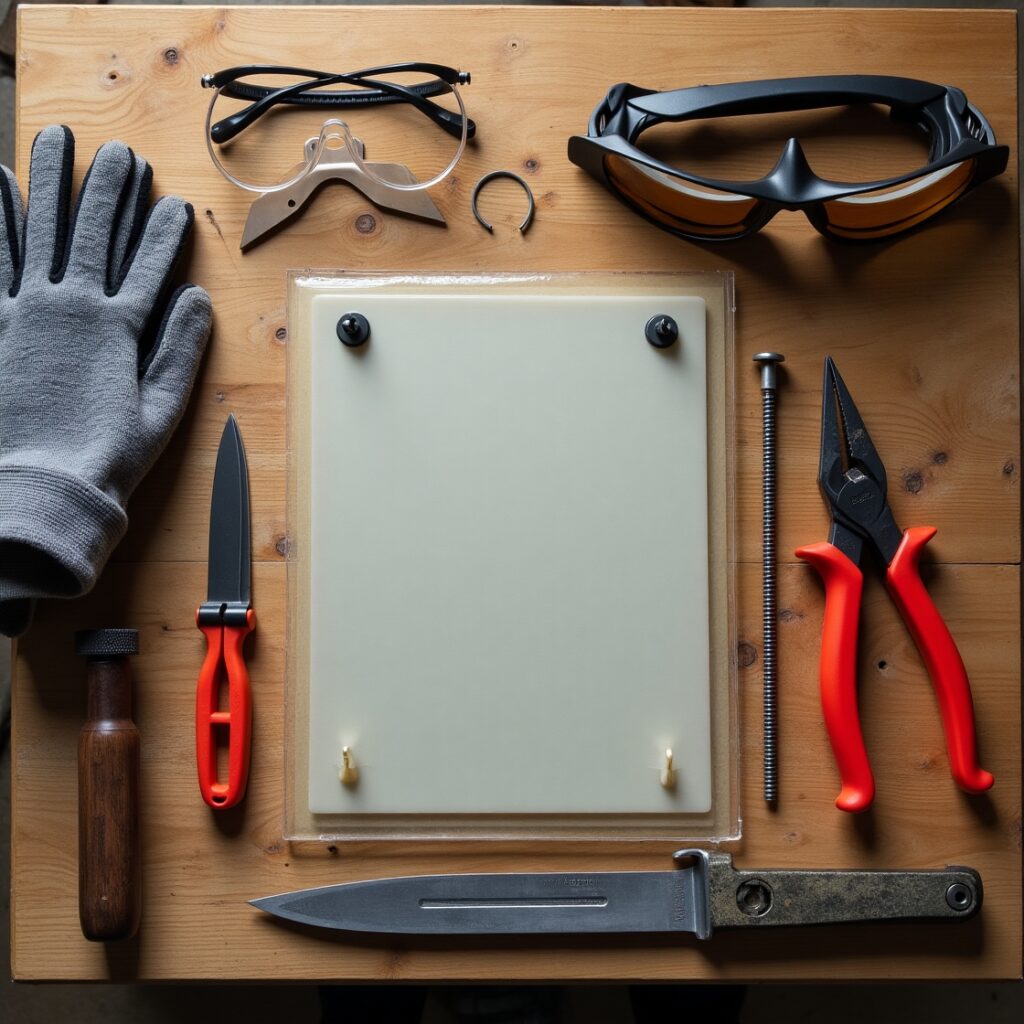
Essential Tools:
- Screwdriver set (Phillips and flathead)
- Needle-nose pliers
- Heat-resistant work gloves
- Safety glasses
- Measuring tape
- Utility knife
- Clean rags or paper towels
Required Materials:
- Replacement ceramic glass (proper thickness)
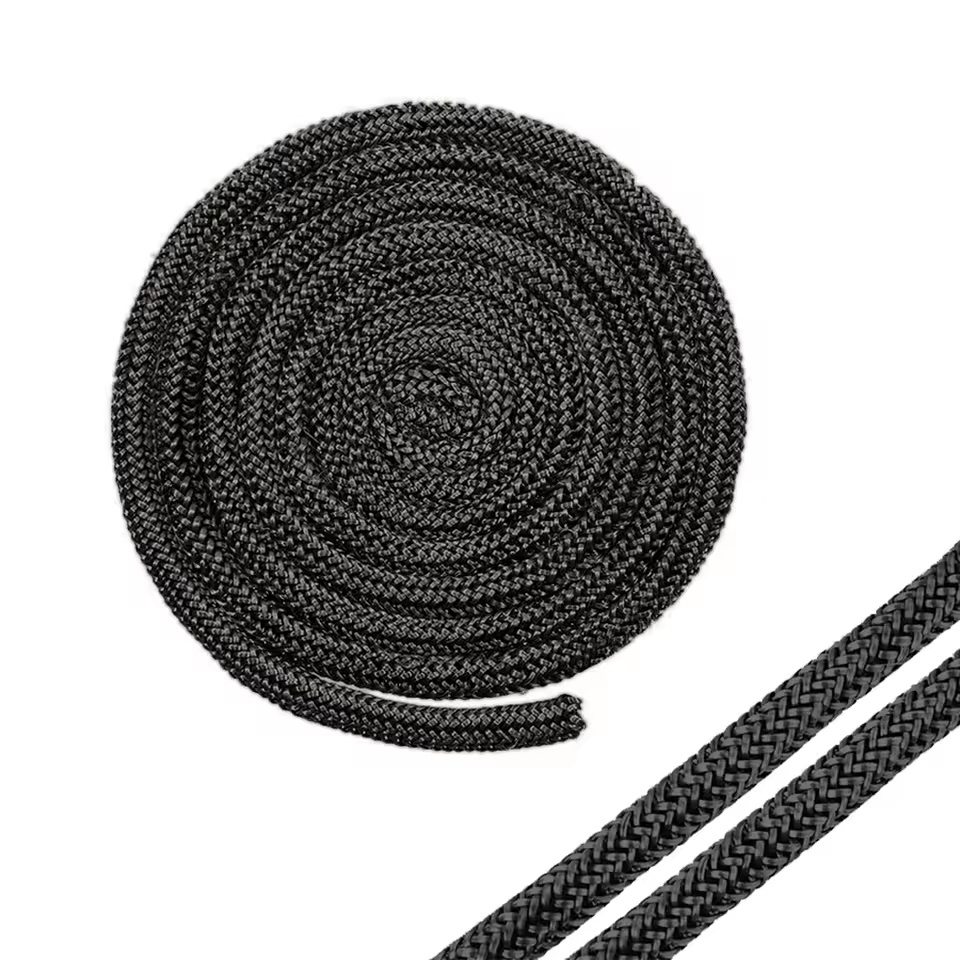
- High-temperature gasket material
- Glass door clips or retainers
- Heat-resistant silicone sealant
- Specialized stove glass cleaner
Safety Equipment: Never attempt glass replacement without proper protection. Sharp glass fragments and residual heat pose serious injury risks during the replacement process.
Step-by-Step Guide to Wood Stove Glass Door Replacement at Home
Step 1: Ensure Complete Cooling and Safety
Before starting your wood stove glass door replacement process, Allow your wood stove to cool completely before beginning any work. Touch the glass surface to confirm it’s at room temperature. Hot glass can cause severe burns and may crack further when handled.
Carefully remove any loose glass fragments while wearing safety glasses and gloves throughout the entire process.
Step 2: Remove the Door from Hinges
Most wood stove doors detach by lifting them straight up and out of the hinge pins. Some models require unscrewing hinge bolts or releasing spring-loaded mechanisms.
Place the door on a stable, padded work surface to prevent scratching or additional damage during replacement.
Step 3: Disassemble the Door Components
Remove the glass retaining clips, springs, or screws that hold the broken glass in place. Take clear photos before disassembly to ensure correct reassembly order.
Keep all small parts in a labeled container to prevent loss during the repair process.
Step 4: Thorough Frame Cleaning
Remove all old gasket material, glass fragments, and debris from the door frame channels. Use a utility knife to scrape away stubborn gasket residue without damaging the metal frame.
Clean the frame with a degreasing solution to ensure proper adhesion of new gasket material.
Step 5: Install Fresh Gasket Material
Apply new high-temperature gasket material around the entire glass perimeter groove. The gasket creates a proper seal and cushions the glass against thermal expansion stress.
Ensure the gasket sits evenly in the channel without gaps or overlapping sections that could create dangerous pressure points. Proper gasket seating is a critical part of successful wood stove glass door replacement, helping the new panel last longer.
Step 6: Position Your New Glass
Carefully position the replacement glass when doing your wood stove glass door replacement, making sure it sits evenly on the gasket material. Verify that the glass doesn’t extend beyond frame edges or contact metal surfaces directly.
High-quality ceramic glass designed for wood stoves can withstand temperatures up to 1200°F and provides superior thermal shock resistance.
Step 7: Secure with Proper Hardware
Replace the glass clips, springs, or retaining screws in the exact configuration photographed during disassembly. Apply even pressure around the perimeter to prevent stress concentrations.
Avoid over-tightening screws, which can crack the new glass immediately or create failure points for future thermal stress.
Step 8: Final Testing and Adjustment
Reinstall the door on your wood stove and check for proper alignment and sealing. The door should close smoothly without binding or gaps around the frame.
Test the door’s operation several times before lighting your first fire to ensure all components function correctly.
Choosing the Right Replacement Glass
Glass Types That Work Best Ceramic glass is the gold standard for wood stove applications, offering superior heat resistance and thermal shock protection compared to standard tempered glass options.
While tempered glass costs less, it may not withstand the extreme temperature variations common in wood stove operation.
Critical Thickness Requirements Most wood stove glass doors use 5mm thick ceramic glass, though larger doors may require 6mm or 8mm thickness for structural integrity.
Always match the original glass thickness exactly. Thinner glass may crack under thermal stress, while thicker glass may not fit properly in the frame channels.
Custom Sizing Solutions If you can’t find pre-cut glass in your exact dimensions, many glass suppliers offer custom cutting services specifically for wood stove applications.
Measure carefully and provide exact dimensions including any corner radius or edge treatments required for your specific door model. Selecting the correct glass type and thickness is key to any safe and durable wood stove glass door replacement.
Cost Analysis: DIY vs Professional Service

DIY Replacement Investment:
- Ceramic glass panel: $45-85
- Gasket material: $15-25
- Replacement hardware: $10-20
- Total DIY cost: $70-130
Professional Service Pricing:
- Labor charges: $150-250
- Materials and glass: $80-120
- Service call fees: $50-100
- Total professional cost: $280-470
Your potential savings for a wood stove glass door replacement DIY project: $200–350 compared to hiring a professional.
Extending Your New Glass Door’s Lifespan
- Smart Cleaning Practices Clean your wood stove glass weekly during burning season using cleaners specifically designed for high-temperature applications. Avoid household cleaners that may leave harmful residues.
- Proper Fuel Selection Burn only seasoned hardwood with moisture content below 20% to minimize creosote buildup and reduce thermal stress on the glass door.
- Never burn trash, treated lumber, or green wood that creates excessive smoke and deposits capable of permanently etching glass surfaces.
- Regular Inspection Schedule Inspect your glass door monthly for small cracks, chips, or gasket deterioration that could develop into larger problems if ignored.
- Replace gaskets annually or when they show signs of compression set, cracking, or poor sealing performance.
For optimal stove efficiency and long-term performance, the U.S. Department of Energy recommends maintaining proper seals, using dry wood, and regularly inspecting stoves for wear or damage.
Troubleshooting Common Glass Door Issues
- Persistent Cloudiness Cloudy or etched glass usually indicates permanent damage from acidic creosote deposits. While functionally safe, replacement may be necessary for clear flame viewing.
- Repeated Cracking Problems If replacement glass cracks repeatedly, check for frame warping, uneven installation, or excessive thermal cycling that may require professional assessment.
- Poor Sealing Performance Gaps around the door frame reduce heating efficiency and can cause dangerous backdrafting. Replace worn gaskets and adjust door alignment to restore proper sealing.
Critical Safety Reminders

- Fire Prevention The NFPA emphasizes never operate your wood stove with cracked or missing glass doors. Compromised doors allow sparks and embers to escape, creating serious fire hazards in your home. Learn more about safe burning practices in our complete guide: How to Prevent Wood Stove Dangerous Overheating.
- Proper Ventilation Ensure adequate room ventilation when replacing glass doors, as disturbed gasket material may release particles that shouldn’t be inhaled.
- When to Call Professionals If you discover frame damage, warping, or structural issues during glass replacement, consult a qualified wood stove technician before continuing operation.
Your Path to Successful Glass Door Replacement
Wood stove glass door replacement is an achievable DIY project that saves substantial money while maintaining your stove’s safety and efficiency. Following this comprehensive guide ensures professional-quality results with basic tools and careful attention to detail.
Regular maintenance combined with proper burning practices will extend your new glass door’s lifespan, providing years of safe, efficient heating for your home. Quality replacement glass and correct installation techniques represent smart investments in both safety and long-term heating performance.
Remember that a properly functioning glass door not only enhances safety but also improves your wood stove’s heating efficiency by maintaining optimal combustion air control and preventing heat loss through gaps or cracks.
Wood Stove Glass Door Replacement FAQs

Can I use regular glass instead of ceramic glass for my wood stove door?
No, regular glass can’t handle the high temperatures of a wood stove and will likely shatter. Always use ceramic glass (like Pyroceram or NeoCeram) specifically rated for wood stove use—it’s designed to withstand extreme heat without cracking or clouding.
How do I know if I need to replace the gasket during wood stove glass door replacement?
If the door isn’t sealing tightly, smoke leaks around the edges, or you feel excessive heat escaping, it’s probably time. You can also do the “dollar bill test”—close the door on a dollar bill and try to pull it out. If it slides out easily, your gasket isn’t sealing properly.
Is it safe to keep using my wood stove if the glass door has a crack?
Even a small crack weakens the integrity of the glass and can get worse quickly. It’s not worth the risk. Cracked glass can break without warning and may allow hot embers or smoke to escape. Replace it before firing up your stove again.
Can I cut ceramic glass myself for a wood stove door?
Not recommended. Ceramic glass is tough but brittle and requires professional cutting using specialized tools. Most suppliers will custom-cut it to your exact measurements—often with precision down to the millimeter. It’s worth letting the pros handle that part.
How long does wood stove glass door replacement take for DIY?
If you have all the tools and materials ready, the process usually takes 30 to 60 minutes, depending on your stove model and how clean the frame is. Taking your time to clean, measure, and install everything properly is key to avoiding future issues.
What’s the best way to clean wood stove glass doors?
Use a specialized stove glass cleaner or a homemade solution of vinegar and water when the stove is completely cool. For stubborn soot, a damp cloth dipped in fine wood ash works surprisingly well—just avoid using anything abrasive like steel wool.
Why does my wood stove glass door keep turning black?
That usually means your fire isn’t burning hot enough. Try using seasoned hardwood, open your air vents a bit more, and avoid smoldering fires. A properly burning fire should keep the glass mostly clear thanks to the air wash system in many modern stoves.

